
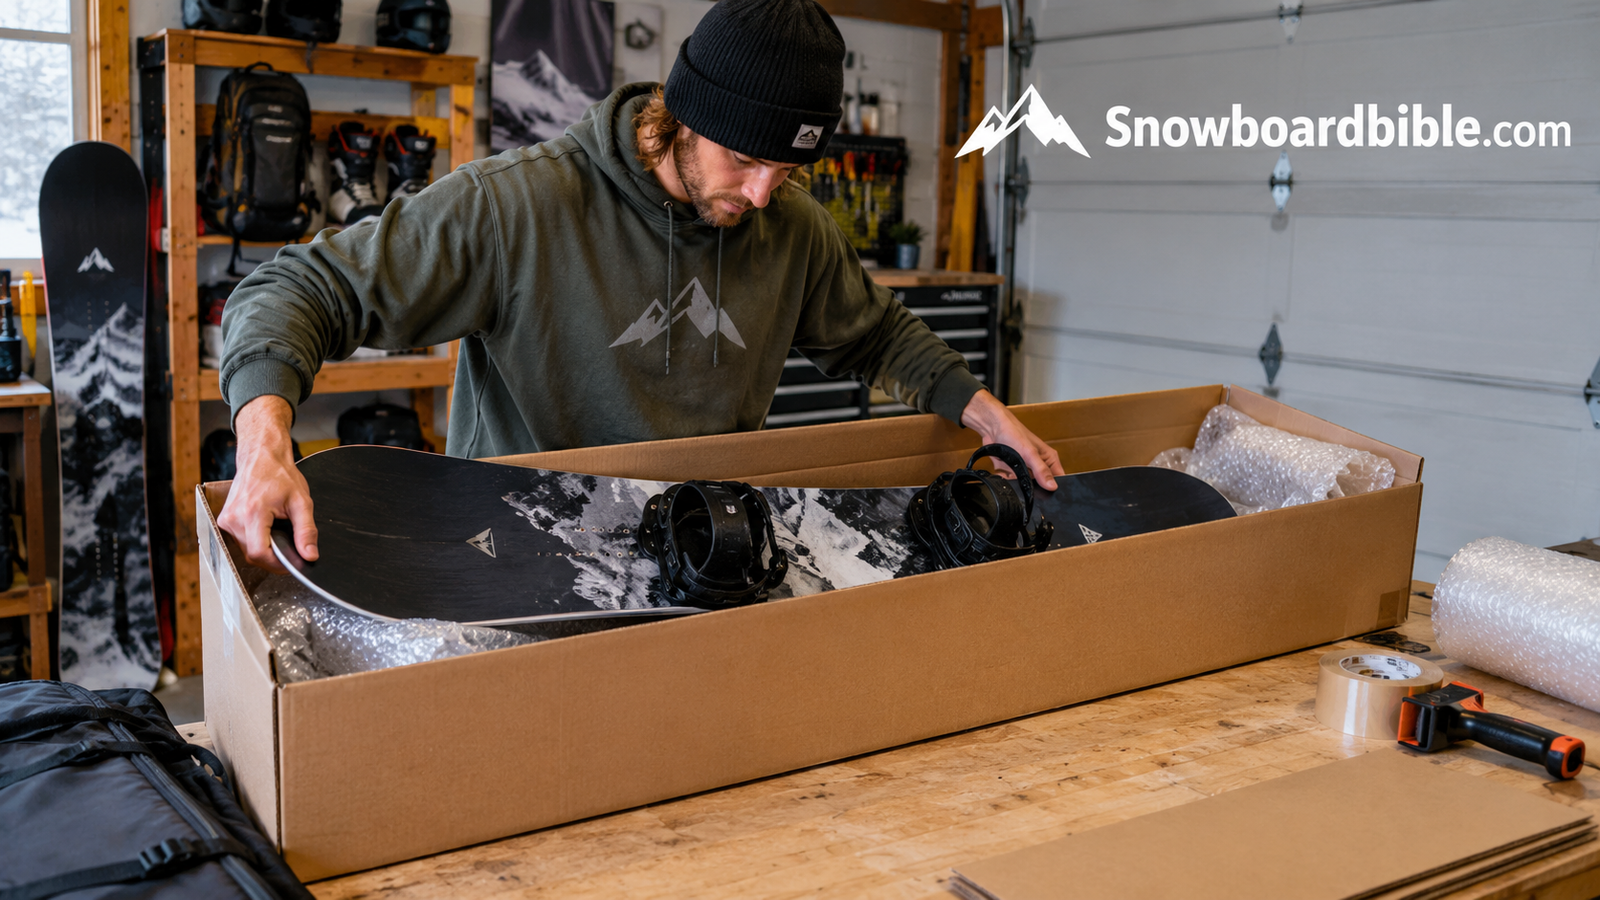
How to Ship a Snowboard Without Wrecking It (Or Your Wallet)
A step-by-step packing method, the box vs. bag debate, and exactly what USPS, UPS, and FedEx will actually charge you for an oversized board.
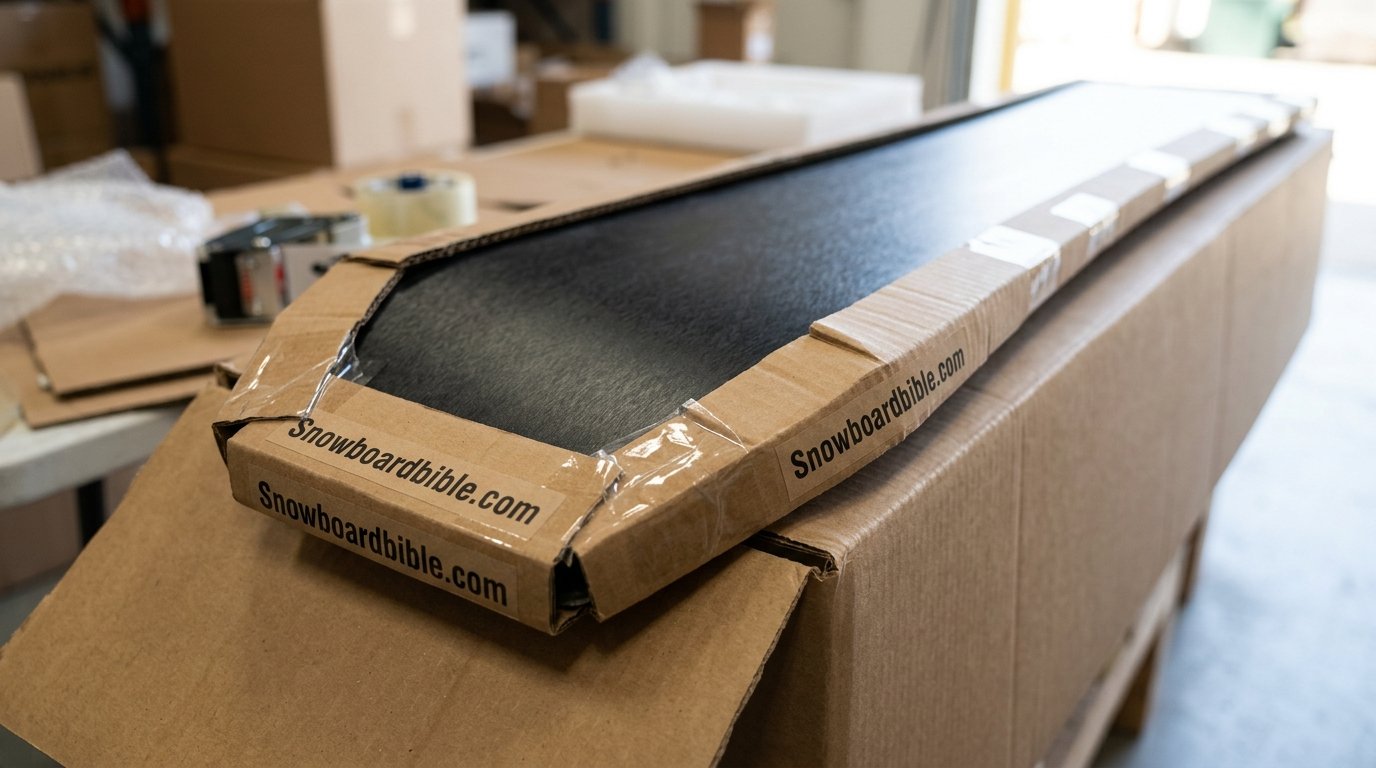
Somewhere between the resort parking lot and the baggage carousel, a lot of snowboards get quietly destroyed. Not by an avalanche or a rock garden — by a box that was too loose, a binding screw that punched through a cardboard wall, or a courier who stacked three suitcases on top of a “fragile” sticker and called it a day. Shipping a snowboard is not hard, but it is unforgiving of shortcuts in a way that shipping, say, a sweater is not.
This guide walks through the entire process end to end: what it costs, what to buy or repurpose, how to pack the board so it survives a cross-country conveyor belt, and how to choose a carrier without getting hit with a surprise oversize fee at the counter. Whether you’re mailing a board to a shaper for a base repair, sending your quiver ahead of a trip, or selling a deck online, the packing method below works the same way.

1. Why Shipping a Board Needs Its Own Plan
A snowboard is an awkward object to ship: long, stiff along its length but flexible across it, with two exposed steel edges that will happily cut through a single layer of cardboard if the box flexes under pressure. It’s also top-heavy at the binding inserts, where metal screws and plastic discs create hard points that dig into padding during a rough toss.
Carriers sort packages largely by machine — conveyor belts, automated sorters, and stacking robots that are built around boxes, not board shapes. A package that’s long, thin, and irregular gets flagged as “oversize” or “nonconforming” more often than a square box of the same weight, which is part of why boards get manhandled more than you’d like. None of that is a reason to panic; it’s a reason to overbuild the packaging slightly more than instinct suggests.
There’s also a financial angle. Length is the single biggest cost driver for shipping a board, more than weight in most cases, because carriers price “dimensional” and “oversize” packages differently than standard ones. Understanding that pricing logic before you buy a box saves real money, which is exactly what the next section covers.
It’s worth separating two very different situations that both fall under “shipping a snowboard.” The first is mailing a board through a courier network unattended — dropping it at a counter or scheduling a pickup, then not seeing it again until it arrives. The second is checking a board as luggage on a flight you’re also taking. Both benefit from the same core packing principles, but the first situation demands more structural protection, because nobody is there to notice the box getting crushed under a pallet of other packages. This guide focuses primarily on the unattended shipping case, since that’s where boards most often get damaged, and calls out where flight-checked luggage differs along the way.
If you ride a splitboard, the same logic applies to each half separately — treat the two halves as two long, thin objects that both need edge protection and void fill, rather than assuming the pair is inherently safer to pack just because it folds down narrower.
2. What It Actually Costs to Ship a Snowboard
Expect anywhere from about $35 to $90 for a single board shipped domestically with a major carrier, and more for multi-board coffins, international routes, or anything shipped during peak winter volume. Three variables move that number more than anything else:
- Length of the box — most carriers apply oversize pricing once a package’s longest side crosses roughly 108 inches combined with girth, or a flat length threshold around 96–108 inches depending on the carrier
- Declared weight, including the box, padding, and any accessories packed alongside the board
- Distance and speed — ground shipping across a few states costs a fraction of a coast-to-coast express shipment
If you’re shipping around the same time you’re researching seasonal gear pricing, it’s worth noting that shipping rates also swing seasonally — carriers add peak surcharges in the exact weeks boards are most likely to be traveling. Booking a shipping label a few days ahead of a trip, rather than the night before, occasionally opens up cheaper ground options that aren’t available for next-day pickup.
One more cost that catches people off guard: a “hazmat” or “oversize” flag added retroactively at a sorting facility. If a package is measured differently than what you declared when buying the label, some carriers charge an adjustment fee after the fact. Measuring the box accurately before you print a label avoids this entirely.
A quick way to estimate cost before committing to a box: measure the sealed package’s length, width, and height, weigh it on a bathroom or luggage scale, and run those numbers through each carrier’s online rate calculator before buying a label anywhere. Doing this for two or three box sizes — say, a snug diagonal fit versus a slightly larger straight-fit box — often reveals that the smaller, better-fitted box is both cheaper to ship and safer for the board, since it also needs less void fill to eliminate movement.
3. Materials to Gather Before You Start
None of this requires specialty tools. Most of it can be scavenged, and the rest is inexpensive.
| Item | Purpose | Substitute if you don’t have it |
|---|---|---|
| Snowboard box or bag | Primary structure and length protection | Bike box or long moving box, reinforced |
| Edge guards / foam pipe insulation | Protects steel edges from punching through the box | Folded cardboard strips taped along each edge |
| Bubble wrap | Wraps bindings, hardware, and the nose/tail | Towels or clothing layered thickly |
| Packing paper or old towels | Fills void space so the board can’t shift | Newspaper, bubble wrap offcuts, foam sheets |
| H-seal packing tape (2-3 rolls) | Structural sealing, not just closure | Duct tape in a pinch, doubled up |
| Permanent marker + printed label | Address, “This Side Up,” fragile markings | Handwritten label taped over the address window |
If you’re shipping a board that’s still mounted with bindings, also set aside a screwdriver matching your binding hardware — a binding disc and screw pattern varies by brand, and you’ll want the bindings off or loosened before packing regardless of which box you use.
It’s tempting to skip buying anything and just use whatever box is lying around, and sometimes that’s fine — a sturdy double-walled moving box or a bicycle shipping box is long enough for most boards and just needs a bit of reinforcement at the seams. What matters more than the brand on the box is wall thickness and seam condition: a single-wall box that’s already been folded flat and reused several times won’t resist crushing the way a fresh double-wall box will, no matter how well you pad the inside.

4. Cardboard Box vs. Snowboard Bag: Which Should You Use?
There are really only two viable containers: a purpose-built cardboard shipping box, or a padded snowboard travel bag reinforced with a rigid liner. Airlines and couriers treat these differently, and each has a real advantage depending on how the board is traveling.
Cardboard box — pros
- Cheapest option, especially if reused or free from a local shop
- Rigid walls resist crushing better than soft-sided bags
- Easier for carriers to scan, label, and stack predictably
Cardboard box — cons
- Single-use in most cases; damaged corners can’t be reused
- No padding of its own — you supply 100% of the cushioning
- Bulkier to store between shipments
Padded snowboard bag — pros
- Reusable for years, doubles as travel luggage
- Built-in padding on the base and edges
- Better for splitboards and multi-board setups with dedicated sleeves
Padded snowboard bag — cons
- Soft sides can be crushed under heavier packages
- Costs more upfront than a cardboard box
- Some carriers apply irregular-shape surcharges to soft luggage
As a rule of thumb: if a courier is picking the board up and running it through an automated network (USPS, UPS, FedEx ground), a rigid cardboard box protects better and ships cheaper. If you’re checking the board on a flight yourself, a padded snowboard bag makes more sense because it’s also carrying your boots, layers, and accessories, and you’re not relying on an unattended cardboard box to survive baggage handling alone. A detailed packing checklist for bags is worth a look if you’re going the travel-bag route instead of a plain shipping box.
A hybrid option some riders overlook: a padded bag with a rigid cardboard or plastic sheet slid inside against the base and another against the topsheet. This borrows the crush resistance of a box while keeping the bag’s reusability and its built-in pockets for boots, a lock, or a stomp pad. It costs a few extra minutes of prep but is a reasonable middle ground if you ship the same board several times a season and don’t want to keep buying new boxes.

5. Step 1 — Clean the Base and Inspect the Edges
Start with a clean board. Wipe the base down to remove old wax residue, dirt, and any moisture — a damp base sitting inside a sealed box for days can encourage rust to form on the edges. While you’re at it, run a gloved hand slowly along both steel edges from nose to tail, feeling for burrs, nicks, or lifted sections. Anything sharp enough to catch a glove is sharp enough to work through a layer of cardboard during transit.
This is also the moment to note any existing base damage with a photo, especially if the board is being shipped to a buyer or a repair shop. A quick “before” photo removes any ambiguity later about whether new damage happened in transit.
Wipe the base clean and check both edges for burrs before you pack anything.
If you find surface rust starting to form near the edges, deal with it now rather than boxing it up — a quick pass following a guide on removing rust from snowboard edges takes a few minutes and prevents it from spreading during a multi-day shipment.
6. Step 2 — Protect the Base and Edges
Cover the exposed steel with edge guards — foam pipe insulation split lengthwise works well, as does a folded strip of cardboard taped snugly along each edge from contact point to contact point. The goal is to blunt the edge so it can’t cut through packing material if the board shifts even slightly.
Next, lay a sheet of cardboard or a base cover pad directly against the base itself. This does two things: it spreads out any point pressure from stacked packages, and it keeps the base from picking up scratches from grit inside the box.
Edge guards blunt the steel; a base cover spreads out pressure from anything stacked on top.
If the board hasn’t been waxed recently, this is a reasonable point to consider it — a freshly waxed base is slightly more resistant to surface rust from ambient moisture, and a fresh coat of wax before a long shipment is cheap insurance either way.
7. Step 3 — Pull and Wrap the Bindings
Bindings mounted to the board create two problems in a box: they’re the tallest point, so they take the brunt of any crushing force, and their baseplate screws can work loose and puncture the cardboard from the inside if the board flexes. The cleanest solution is to remove the bindings entirely and pack them separately, wrapped in bubble wrap with the screws taped to the baseplate so nothing goes missing.
If you’d rather leave bindings mounted, loosen the highback and ratchets, wrap the entire binding assembly in a few layers of bubble wrap, and tape it snugly so it can’t shift or dig into anything around it.
Bindings removed and wrapped separately protect both the hardware and the board’s topsheet.
Either way, this is a good moment to double-check your setup against a bindings guide so you remember exactly how the stance was set when it’s time to remount on the other end.
8. Step 4 — Position the Board Inside the Box
Most snowboards are longer than a standard shipping box’s straight-line interior, which is why almost every dedicated snowboard box is built slightly oversized or expects the board to sit at a gentle diagonal. Center the board corner-to-corner inside the box so the nose and tail each rest near opposite corners rather than pressing flush against a single wall.
Avoid forcing a board that’s genuinely too long into a box that’s too short — bending a board to fit, even slightly, can create a permanent camber or rocker deformity. If the board doesn’t fit at a diagonal without visible flex, size up the box rather than compromise on fit; a sizing guide is a useful cross-check for how long your specific board is before you order a box.
A diagonal placement lets a shorter box safely hold a longer board without bending it.
9. Step 5 — Fill the Void Space
An unsecured board rattling inside an oversized box is almost as risky as one crammed into a too-small box — every gap is room for the board to shift, torque, and collide with the walls during handling. Pack paper, foam sheets, or folded towels into every open space: above and below the board, along both sides, and especially near the nose and tail where the box tapers.
A simple shake test works well here: lift one end of the sealed box a few inches and let it settle. If you feel or hear the board shift inside, add more void fill until it doesn’t move at all.
Fill every gap so the board can’t shift, torque, or collide with the box walls in transit.
10. Step 6 — Seal and Reinforce the Box
Close the box and seal every seam with an “H” pattern of tape: one strip down the center seam, and one strip across each end where the flaps meet the sides. This distributes stress across the tape rather than concentrating it on a single line, which matters when a box this long gets picked up from one end.
Reinforce the corners with an extra wrap of tape, since corners take the most impact if the box is dropped or dragged. Finish with a clearly written or printed “Fragile” and “This Side Up” label, plus your shipping label, in a spot that won’t get covered by a stacking sticker at a sorting facility.
An H-seal pattern and reinforced corners hold up far better than a single strip of tape down the middle.

11. Picking a Carrier: USPS vs. UPS vs. FedEx
All three major carriers will ship a boxed snowboard, but they price and handle oversized packages differently enough that it’s worth comparing before you buy a label.
| Carrier | Typical cost (single board, ground) | Oversize handling | Best for |
|---|---|---|---|
| USPS | $$ (often cheapest for shorter boxes) | Stricter length/girth combined limits | Shorter boards, budget shipments |
| UPS | $$$ | Clear oversize surcharge tiers, reliable tracking | Longer boards, higher-value shipments |
| FedEx | $$$ | Similar oversize tiers to UPS, strong ground network | Time-sensitive shipments, business accounts |
A practical approach: get quotes from all three for the exact box dimensions and weight you’ve packed, since regional pricing and current fuel surcharges shift which carrier is cheapest week to week. If you ship boards often — say, alongside a side business built around gear reviewed in a snowboard comparison series — opening a small business account with one carrier can unlock negotiated rates well below retail counter pricing.
Whichever carrier you use, always weigh and measure the sealed box yourself before printing a label. Carriers reserve the right to re-measure at a sorting hub, and an inaccurate declared size is the single most common reason for a surprise adjustment fee after the fact.
Drop-off versus scheduled pickup also matters more than people expect. A board handed directly to a counter clerk tends to get logged and handled a little more carefully than one left in an outdoor pickup bin, simply because a person looked at it and scanned it in front of you. If your local access to a staffed counter is limited, a scheduled pickup with a specific time window is the next best option over an unattended drop box.
12. Labeling, Insurance, and Paperwork
Print the shipping label rather than handwriting it whenever possible — it scans more reliably and survives moisture better than ink. Tape it flat under a layer of clear packing tape or a label pouch, positioned on the largest flat face of the box, away from any seam that might get cut open by a box cutter at inspection.
Insurance is worth adding for anything beyond a beater board. Standard carrier liability for an uninsured package is typically a small flat amount, nowhere near the replacement cost of a board and bindings. Photograph the board before boxing, keep your receipt for the box and packing materials, and if the board has any resale or appraisal value, keep that documentation with your shipping receipt in case you need to file a claim.
- Photograph the board, bindings, and interior of the box before sealing
- Keep the receipt and tracking number until delivery is confirmed
- Add declared-value insurance for anything you couldn’t casually replace
- Note any pre-existing damage in writing if shipping to a buyer or shop
If you’re shipping internationally — ahead of a trip covered in guides like Japan snowboarding trips or a season exploring popular snowboarding destinations abroad — budget extra time for customs paperwork and expect a noticeably higher rate than domestic ground shipping. A courier with strong international tracking is worth the premium over the cheapest available option.
Mistakes That Actually Damage Boards in Transit
Most shipping damage traces back to a small number of repeatable mistakes, almost all avoidable with an extra five minutes of prep.
| Mistake | Why it causes damage | Fix |
|---|---|---|
| Bare steel edges touching cardboard | Edges cut through the wall under pressure or vibration | Foam or cardboard edge guards, every time |
| Bindings left mounted and untaped | Screws and baseplates puncture from the inside | Remove or wrap bindings separately |
| Loose fit inside an oversized box | Board shifts and slams into walls repeatedly | Void-fill every gap, shake-test before sealing |
| Single strip of tape down the seam | Seam splits under end-loading or a drop | Full H-seal pattern plus corner reinforcement |
| Bent or forced diagonal fit | Introduces permanent camber/rocker distortion | Size the box to the board, don’t force it |
| No rust prevention before a long transit | Trapped moisture pits the edges in days | Dry, clean, and lightly wax the base first |
None of these fixes are expensive. Together they cost maybe fifteen extra minutes and a few dollars in tape and foam — a small price against the cost of reshaping or replacing a damaged board.
One pattern worth calling out on its own: shipping right after a resort day without letting the board dry out fully. Snow and slush trapped in binding inserts or along the edges gets sealed into a closed box for days, and that trapped moisture is exactly what encourages surface rust and, in cold cargo holds, can even refreeze against the topsheet. Give the board a few hours indoors to dry completely before it goes in the box, even if that means shipping a day later than planned.
The Bottom Line on Shipping a Snowboard
Shipping a snowboard safely comes down to three habits: protect the steel edges and binding hardware before anything else, eliminate every bit of empty space inside the box, and seal the thing like it’s going to get dropped — because somewhere along the route, it probably will. Follow the six-step method above and a board can make it across the country, or across an ocean, in exactly the condition it left in.
Shop Snowboard Shipping BoxesFrequently Asked Questions
How much does it cost to ship a snowboard?
Typically $35 to $90 domestically with USPS, UPS, or FedEx ground, depending on box length, weight, and distance. Oversize surcharges apply once the box crosses a carrier’s length or combined length-and-girth threshold, so a snug, appropriately sized box usually ships cheaper than an oversized one.
What size box do I need to ship a snowboard?
Most snowboard shipping boxes run somewhere between 150 and 165 cm (about 59 to 65 inches) to accommodate boards packed at a slight diagonal. Check your board’s exact length against the box’s interior diagonal measurement rather than its straight-line length before buying.
Can I ship a snowboard with the bindings still attached?
Yes, but it’s safer to remove them or at least loosen and wrap them tightly in bubble wrap. Mounted bindings create hard points that can puncture the box or bruise the topsheet if the board shifts during handling.
Is it cheaper to ship a snowboard in a box or a bag?
A cardboard box is usually cheaper for one-off shipments through a courier, since padded bags can trigger irregular-shape surcharges with some carriers. A padded bag makes more sense if you’re checking the board yourself on a flight rather than shipping it unattended.
Do airlines charge extra to check a snowboard?
Many airlines have specific sporting-equipment fees for snowboards that differ from standard checked-baggage fees, and policies vary widely by carrier and route. Check your specific airline’s sporting equipment policy before booking, since some waive the fee for elite frequent flyers or specific fare classes.
How do I protect the edges when shipping a snowboard?
Run foam pipe insulation or folded, taped cardboard strips along both steel edges from contact point to contact point. This blunts the edge so it can’t work through the box wall under pressure or vibration during transit.
Should I wax my snowboard before shipping it?
A light wax coat isn’t required, but drying the base thoroughly and applying a fresh coat adds some protection against surface rust forming on the edges if the board sits sealed in a box for several days.
What’s the best way to ship two snowboards together?
Use a wider “coffin” style box built for multiple boards, and separate each board with a rigid divider or extra cardboard so the edges of one board can’t rest against the topsheet of the other. Fill remaining void space just as you would for a single board.
Do I need insurance to ship a snowboard?
It’s optional but strongly recommended for anything beyond a low-value beater board. Standard carrier liability for an uninsured package rarely covers the full replacement cost of a board and bindings.
Can I reuse a snowboard shipping box?
Yes, as long as the corners, seams, and flaps are still structurally intact and free of tears. Inspect it carefully before reuse — a box that’s already been compressed once offers noticeably less protection the second time.
How long does it take to ship a snowboard domestically?
Ground shipping typically takes 3 to 7 business days depending on distance, with faster options available at a higher price. Build in a buffer of a few extra days during peak winter shipping volume.
What happens if a snowboard box gets damaged in transit?
File a claim with the carrier as soon as possible, including your photos of the board and packaging before shipping, your tracking number, and your receipt for the box and insurance if purchased. Most carriers require claims to be filed within a set window after delivery, so don’t wait.


